How to Configure Single Sign-On (SSO) with Google?
We will go over how to configure SAML-based Single Sign-On (SSO) with Google in this post.
If you use Microsoft Azure Active Directory for SSO, refer to: How to Configure Single Sign-On (SSO) with Microsoft Azure Active Directory.
If you use Okta for SSO, refer to: How to Configure Single Sign-On (SSO) with Okta.
Create a custom SAML app in Google Admin Console
First, we need to create a custom SAML app in Google Admin Console.
Log in to the console, go to Apps->Web and mobile apps->Add app->Add custom SAML app.
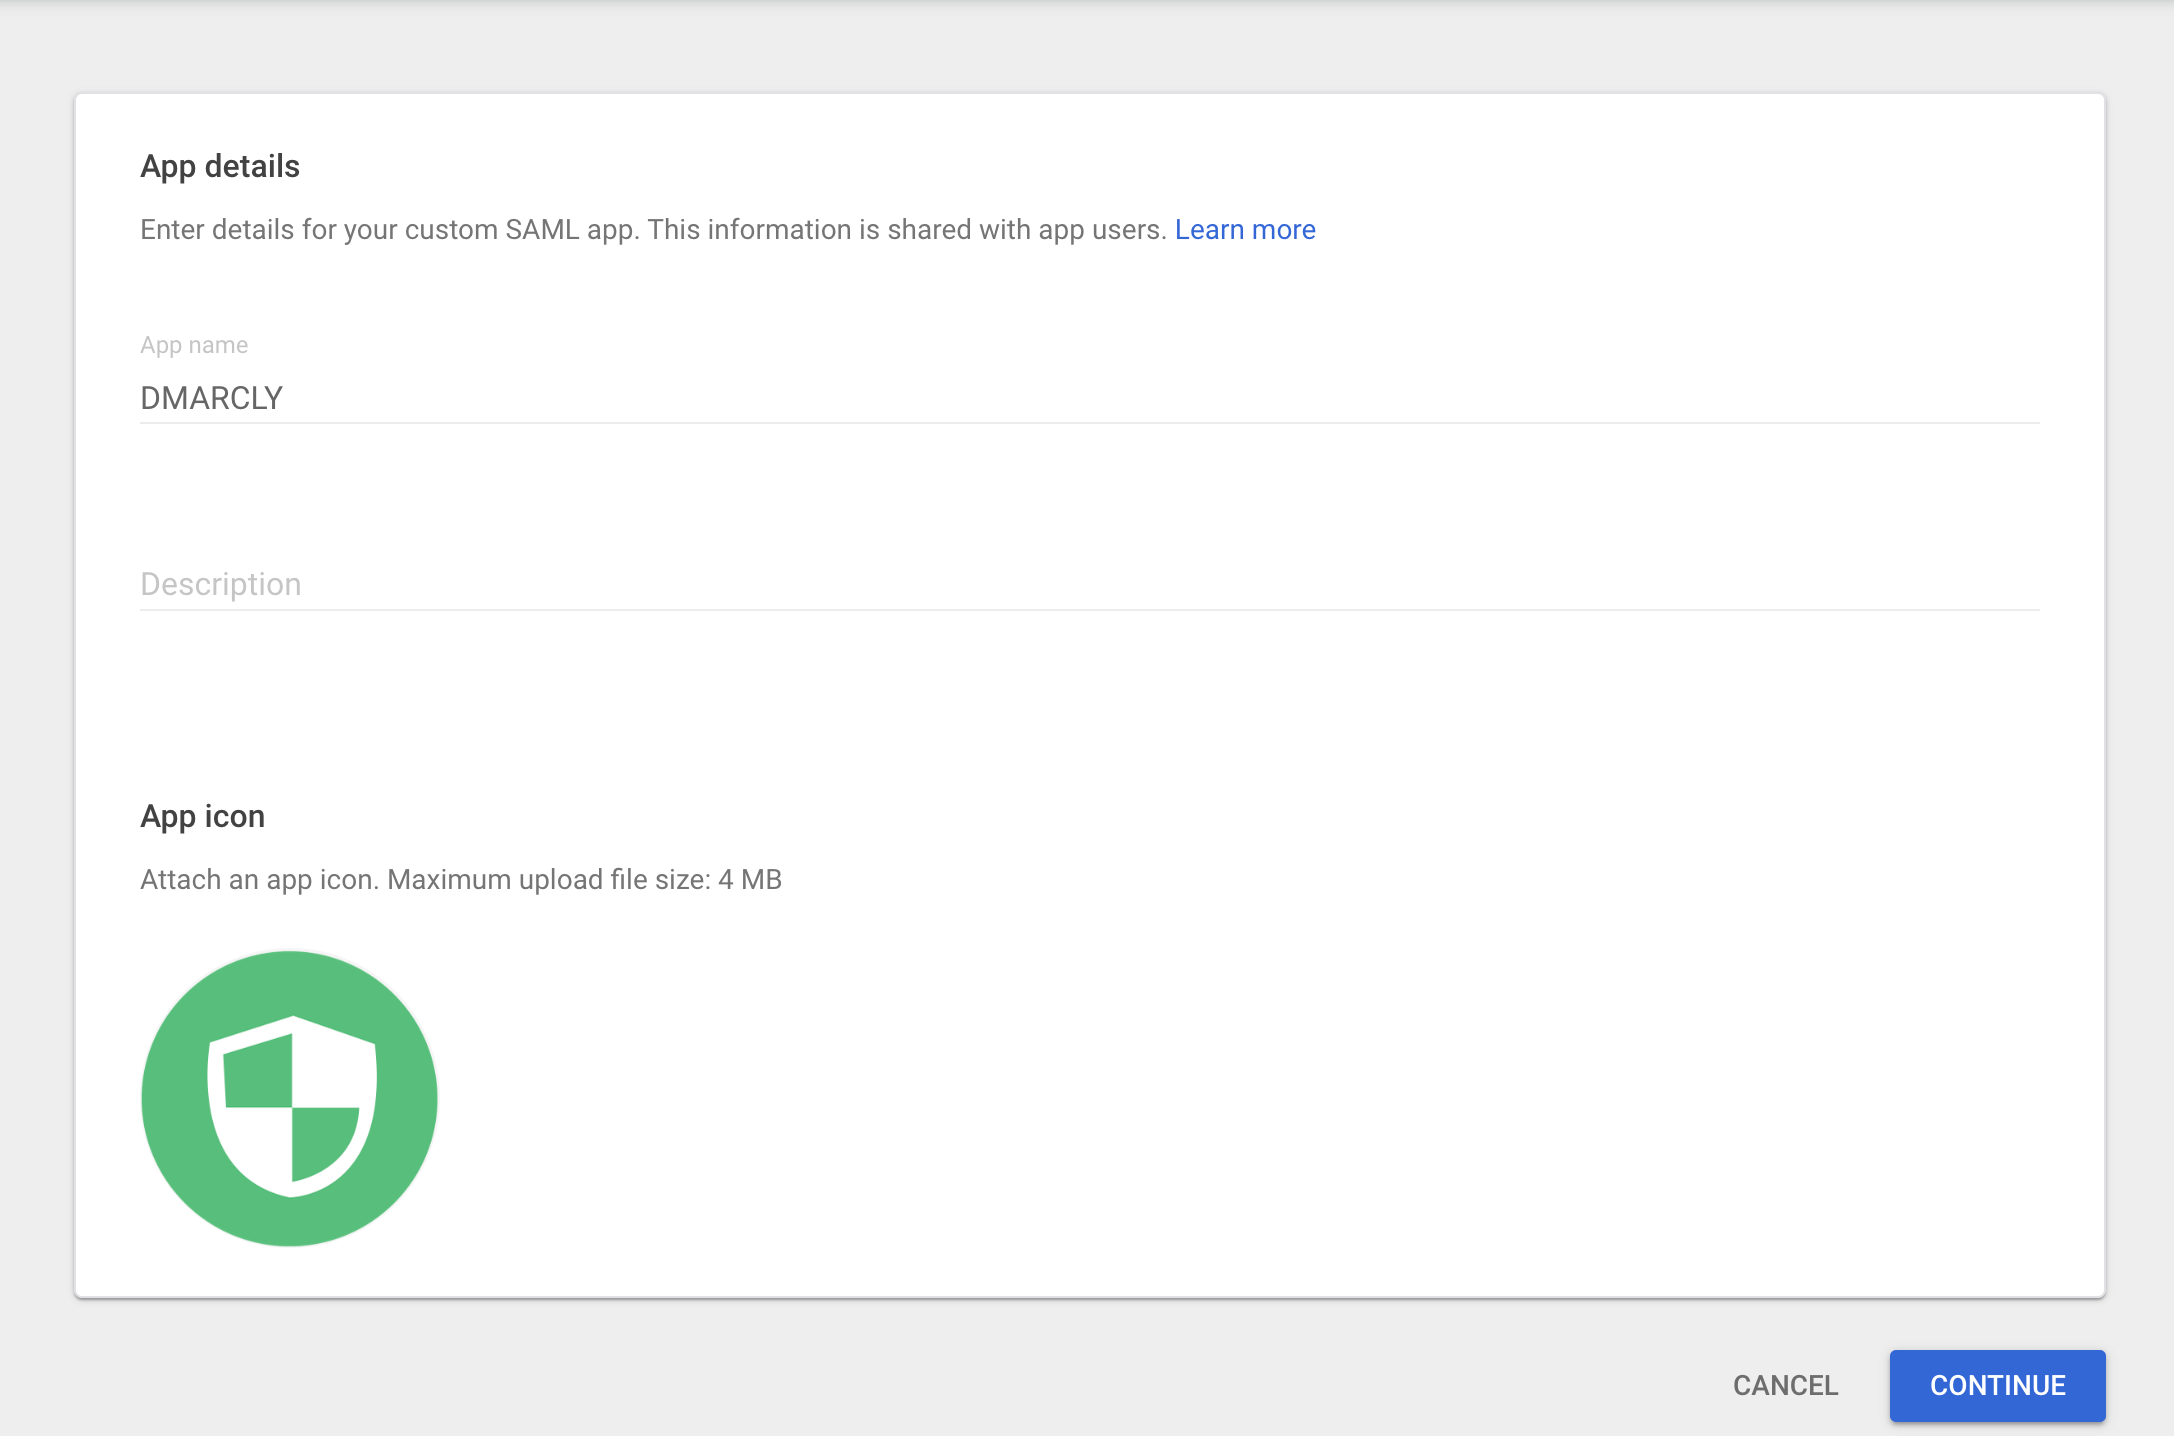
Now you are on the App details tab, enter DMARCLY as the name of the app, upload the DMARCLY logo (optional), then click on Continue, as illustrated below:
Configure the custom SAML app for SSO
Now you are on the Google Identity Provider Details tab:
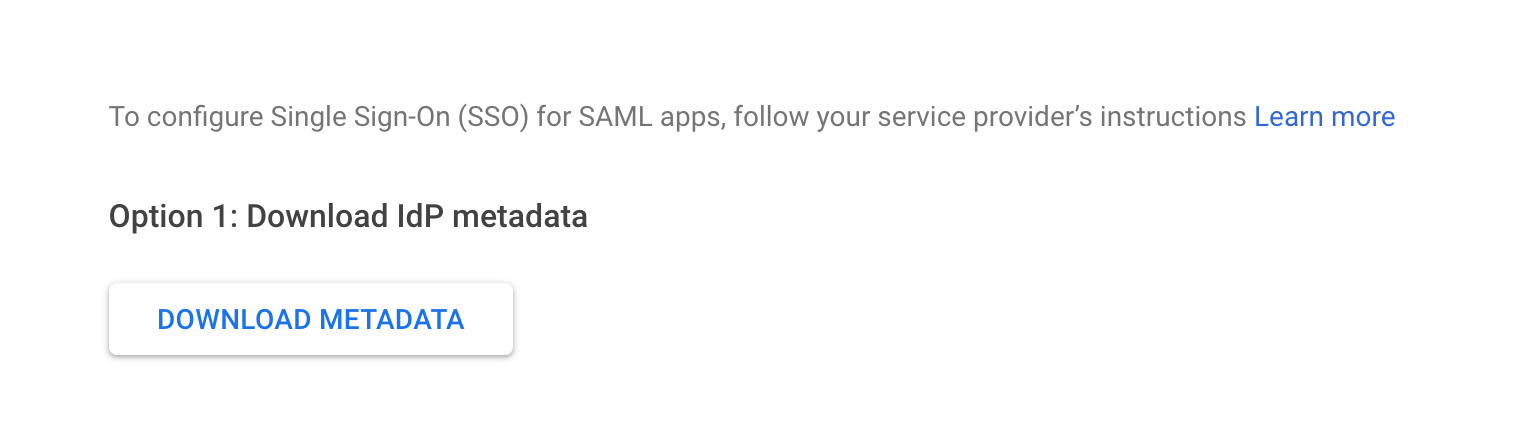
Click on DOWNLOAD METADATA to download the IdP metadata. Click on Continue to navigate to the Service provider details tab.
You need to grab Entity ID and ACS URL from the DMARCLY dashboard. Log in to DMARCLY, go to System->Single Sign-On (SSO), toggle on the Enable Single Sign-On switch, and choose Google as the Identity Provider:
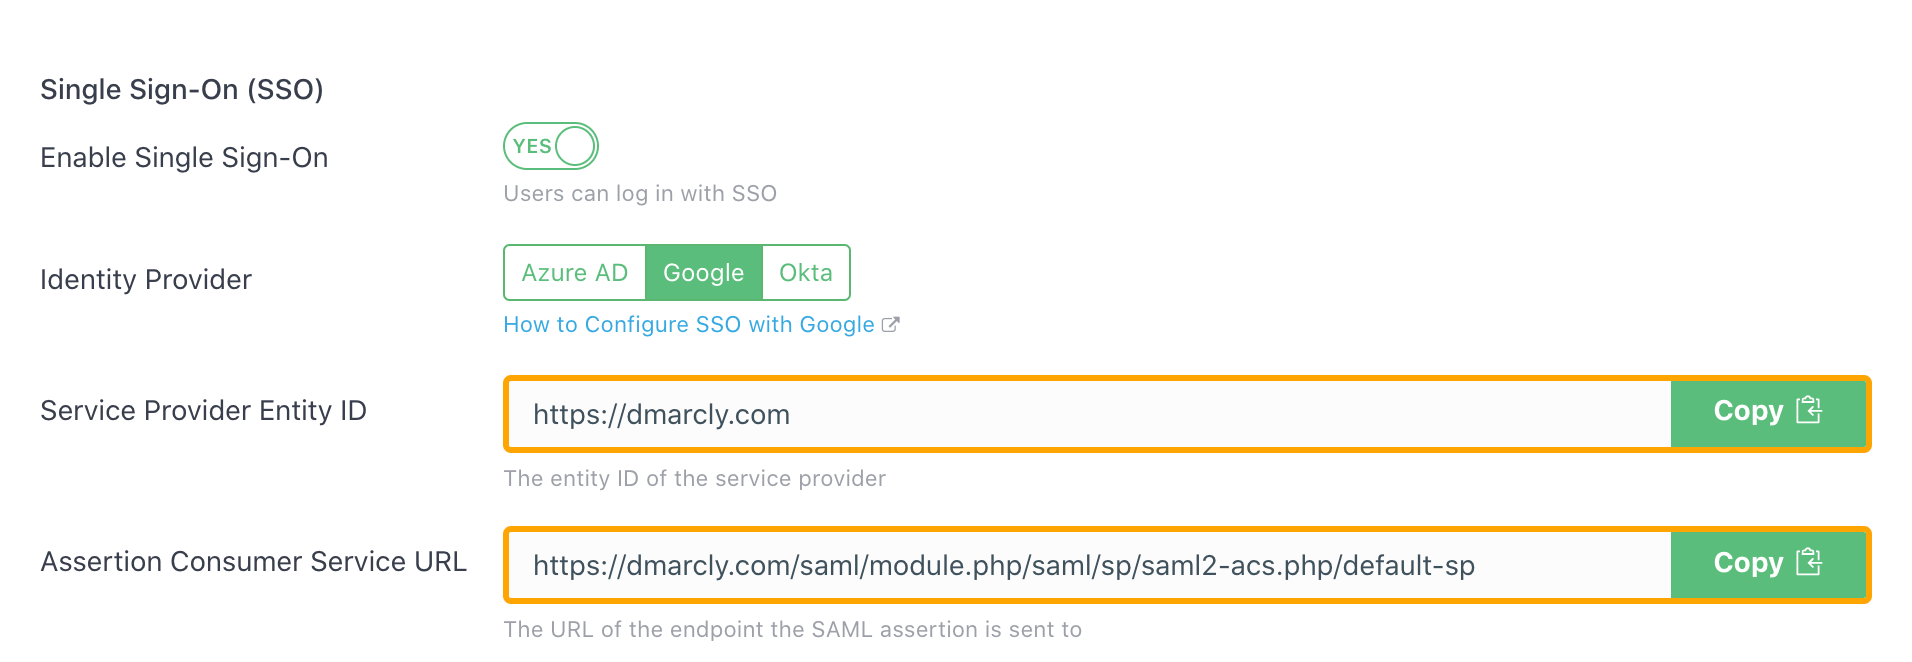
then copy these 2 values from there and paste them in the Google Admin Console input boxes one by one. Then hit Save.
Once done, it should look like this:
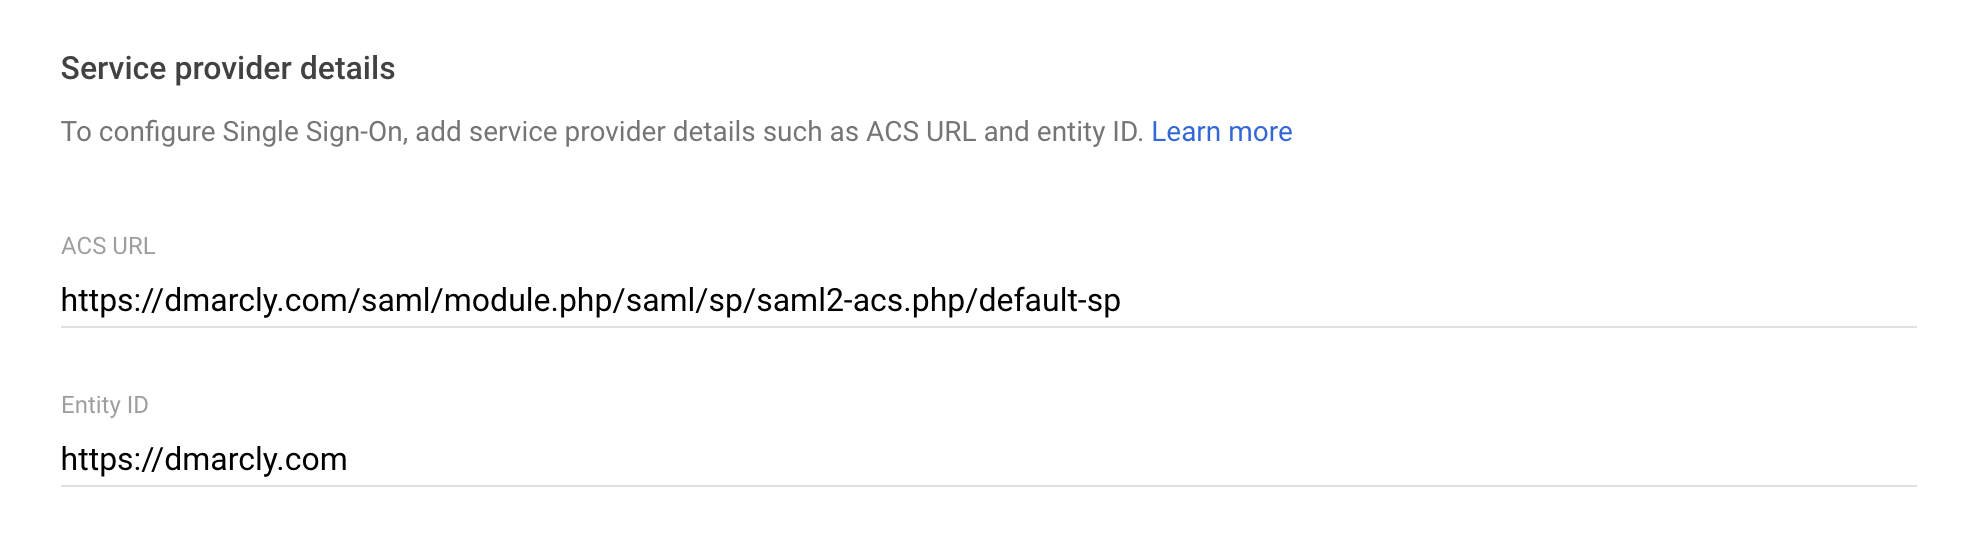
Note: if you are in the EU zone, please make sure that both Service Provider Entity ID and Assertion Consumer Service URL start with https://eu.dmarcly.com, instead of https://dmarcly.com.
Now open the metadata you downloaded earlier in a text editor, select all the content and copy it, switch back to the DMARCLY dashboard, paste it in the IdP Metadata field:
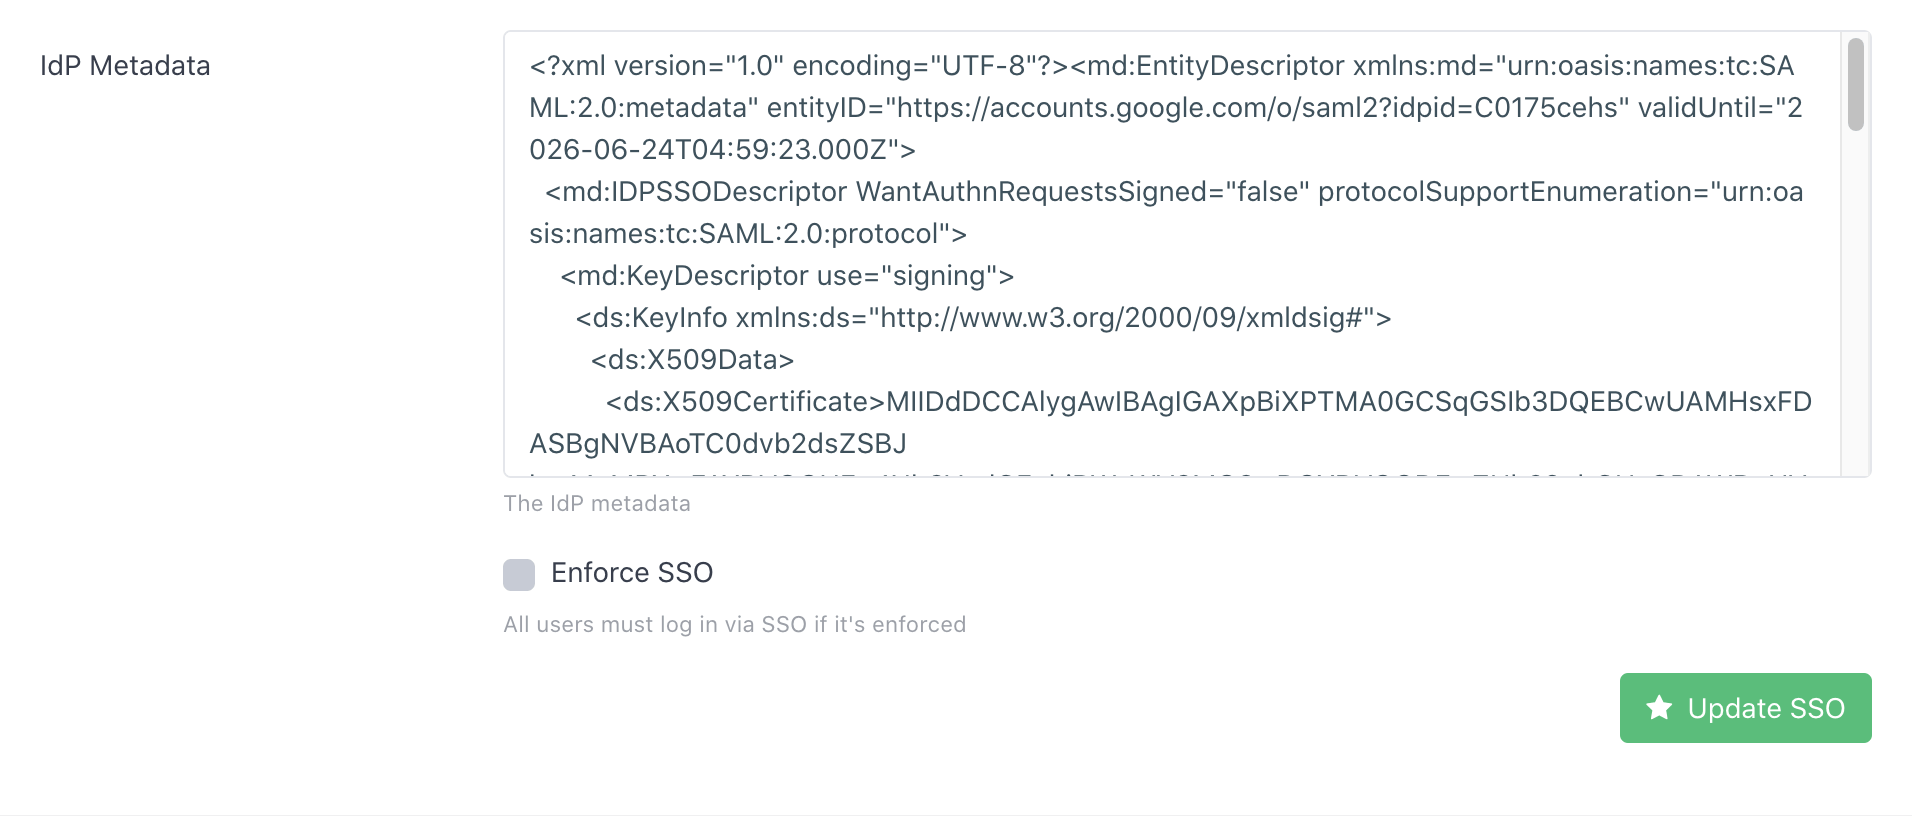
then hit Update SSO.
Go back to Google Admin Console, click on Continue on the Service provider details tab, then click on Finish.
Assign users to the custom SAML app
Before a user in your organization can use the app, you must assign the user to it. Go to Apps->Web and mobile apps, click on DMARCLY to open its page and show User access:

If you see "OFF for everyone" under User access, click on it to reveal the Service status card:
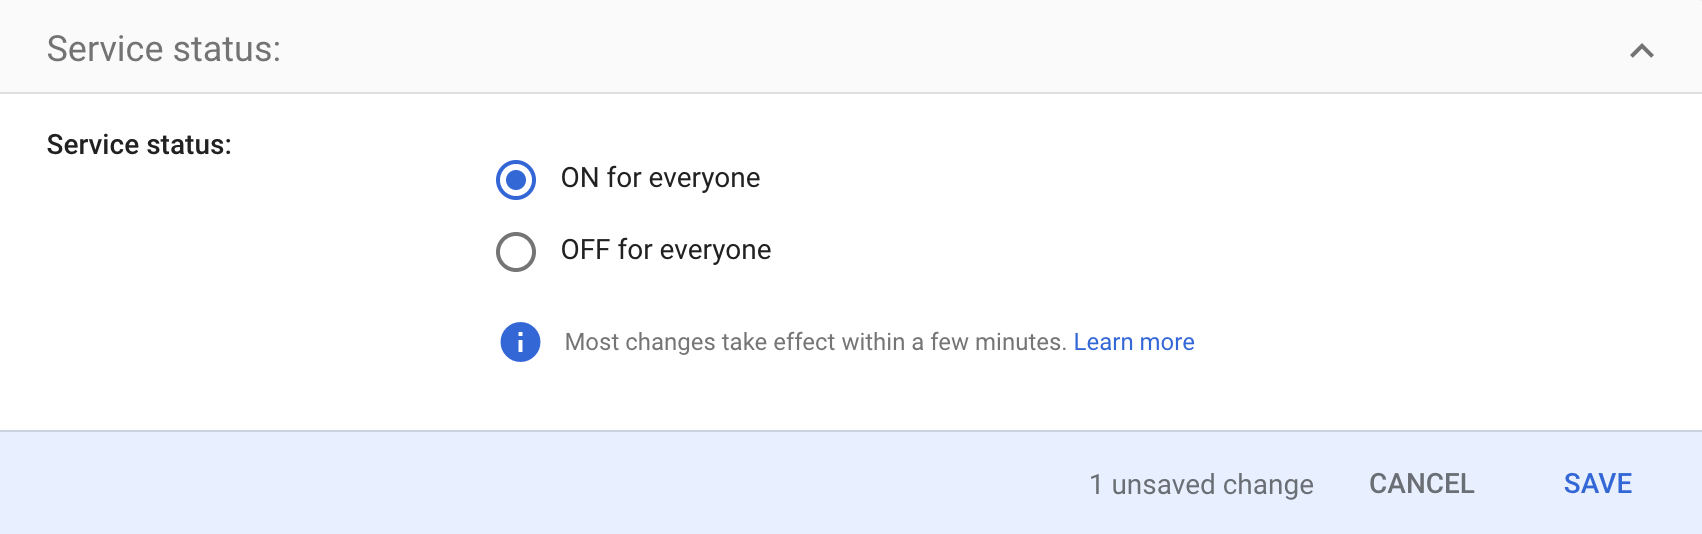
choose ON for everyone and click on SAVE.
Create users in DMARCLY
To log in via SSO, in addition to a corresponding user account in Google, a user must have an account in DMARCLY.
To create a user account in DMARCLY, log in to the dashboard, go to Users->Add User, enter the user email address and the other fields on the page, then click on Save User.
Log in via SSO
Now that you are done with the configuration, you can log in via SSO.
If you are a non-EU user, navigate to https://dmarcly.com/login-sso, otherwise navigate to https://eu.dmarcly.com/login-sso.
Now enter your account email with DMARCLY, then you will be redirected to the Google login screen:
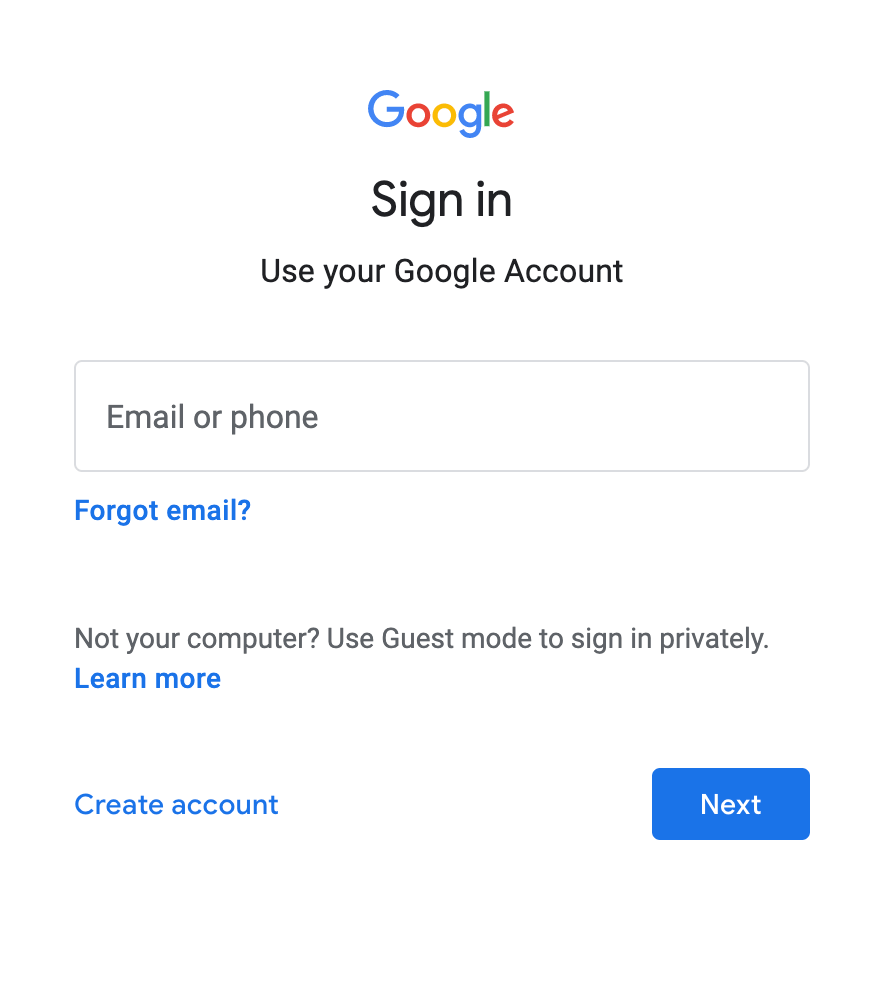
enter your credentials with Google. Once authenticated, you will be redirected to the DMARCLY dashboard.
IdP-initiated SSO
You can also access DMARCLY directly from Google. To do so, navigate to the DMARCLY app page in Google Admin Console:
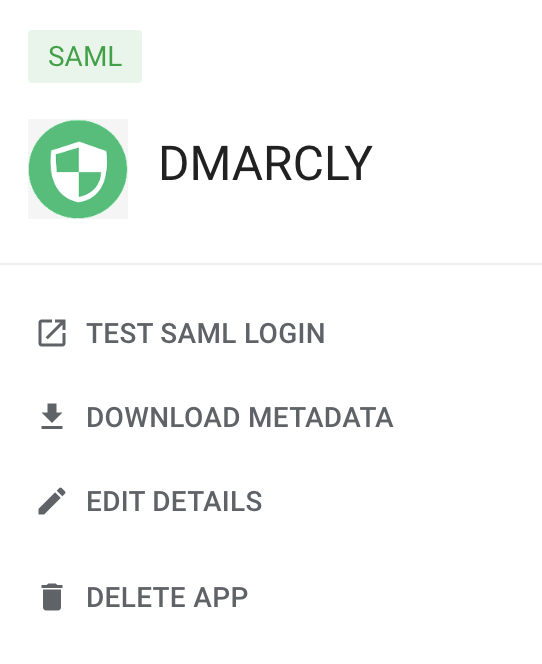
Click on TEST SAML LOGIN and you will be redirected to the DMARCLY dashboard.
Enforce SSO
You can enforce SSO so that all users must log in via SSO. That is, direct login will be disabled.
To enforce SSO, turn on the Enforce SSO checkbox in System->Single Sign-On (SSO) in the DMARCLY dashboard:
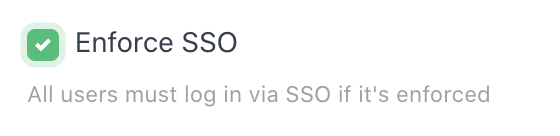
then click on Update SSO.
Now log out of your DMARCLY dashboard, and try to log in again on the direct login page, you will see some warning like this:
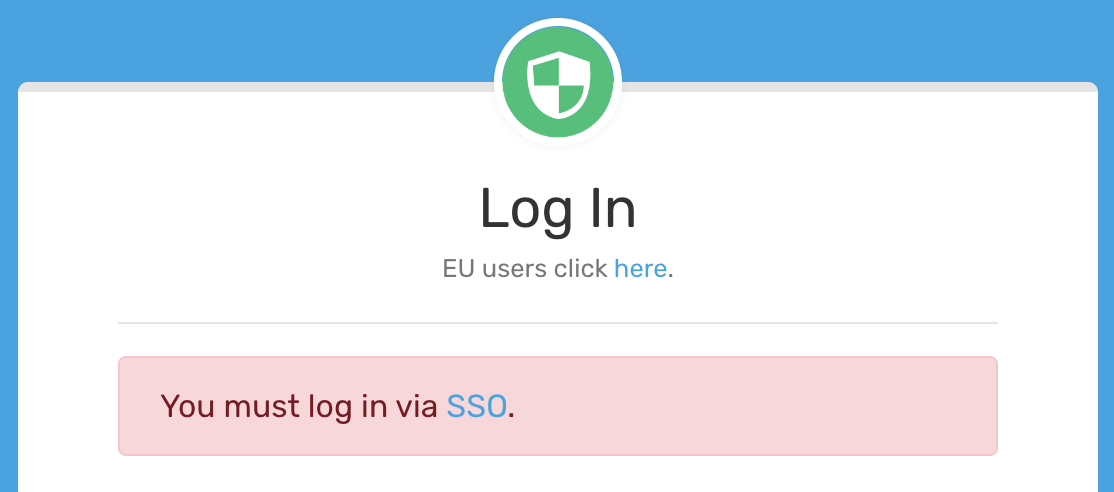
Simply click on the SSO link to proceed with SSO login.
Protect Business Email & Improve Email Deliverability
Get a 14 day trial. No credit card required.
Create Account