How to Add DMARC Record in cPanel: cPanel DMARC Setup Guide

This post provides step-by-step instructions on how to add a DMARC record in cPanel.
About DMARC records
First of all, a DMARC record is a TXT record published to the DNS for your domain, under dmarc.yourdomain.com, where “yourdomain.com” is your actual domain or subdomain. It tells the email receiver what to do when an email message fails DMARC authentication, and also where to send reports on email delivery statistics.
For more information on DMARC records, refer to: Everything about a DMARC Record.
Generate your DMARC record
Before moving on, make sure you have generated your DMARC record, using our free DMARC record generator.
Publish the DMARC record in cPanel
Now the record is ready, follow the steps below to publish it!
1. Log in to cPanel
Go to your cPanel portal, enter your credentials to log in to its dashboard.
2. Locate your domain
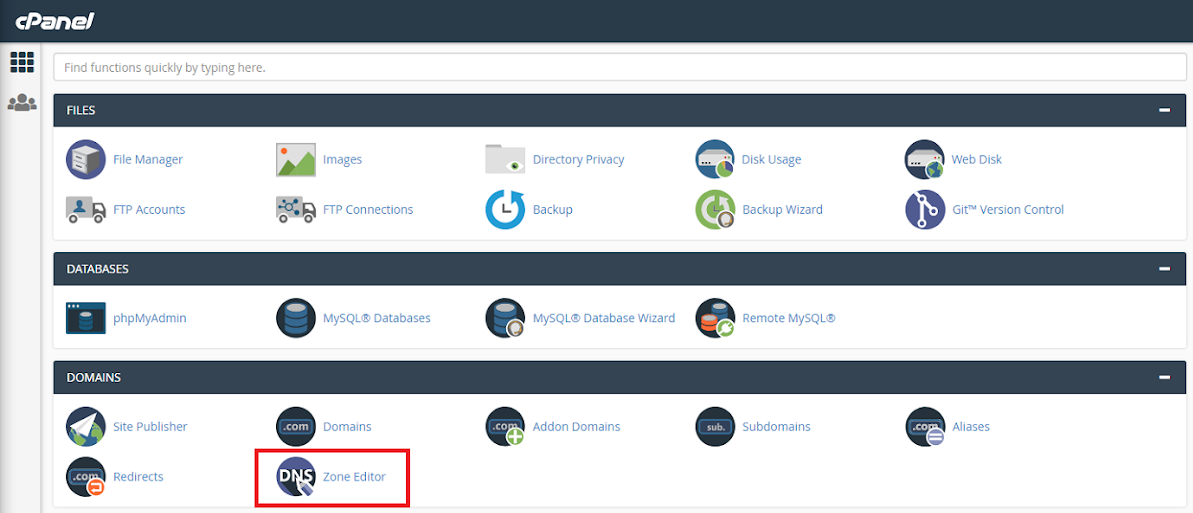
Navigate to Domains, then click Advanced DNS Zone Editor:
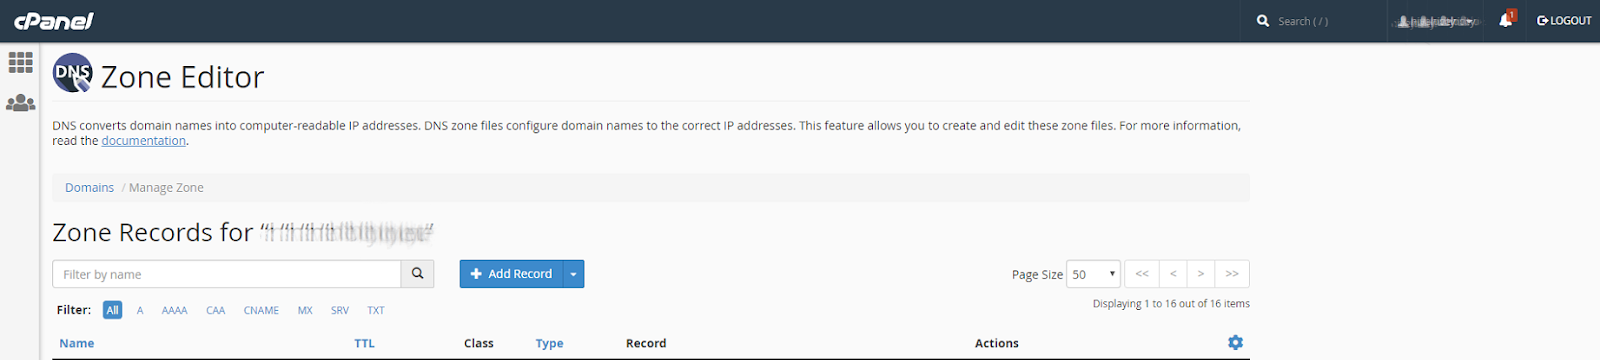
Then click the Manage button of the domain of your choice:

3. Create the record entry
Click the Add Record button, as illustrated:
Create a TXT entry on your domain with these settings:
Type: TXT
Host: _dmarc
TXT Value: (DMARC record created above)
TTL: 1 hour
Make sure the record type is TXT, host is set to _dmarc, value is set to the record generated above. Click the Add Record button to save the settings. Now you have added the record!
4. Check the published DMARC record
If you want to check the published DMARC record, you can use our free DMARC record checker. Note that the change you made in the last step might take some time to propagate in the DNS, therefore, if you can't find the record, give it up to 1 hour then retry.
That's how you add a DMARC record in cPanel.
Protect Business Email & Improve Email Deliverability
Get a 14 day trial. No credit card required.
Create Account