SPF/DKIM/DMARC Setup Guide for Google Workspace (formerly known as G Suite) (Gmail for Business)

Once you've created a Google Workspace, formerly known as G Suite, account on your domain, you will need to set up email authentication so that emails sent from Google Workspace on behalf of your domain are fully authenticated, and keep monitoring the authentication status and take action if necessary.
This means you need to set up SPF, DKIM, and DMARC on your domain, with appropriate Google Workspace settings. Let's go through them one by one below.
Set up SPF for Google Workspace
An SPF record is a whitelist of IP addresses allowed to send emails on behalf of your domain. An email sent from an IP address not listed in the SPF record is likely to be considered spam.
To authorize Google Workspace hosts to send emails on behalf of your domain, you need to:
- log in to your domain's DNS dashboard;
- go to the page where you can update the DNS settings on that domain;
- check if a TXT record starting with
v=spf1already exists; if so, the domain already has an SPF record and you need to update it; otherwise, you need to create an SPF record; - to update the SPF record, insert an
includemechanism right before the terminating mechanism (~allor-all) in the SPF record:include:_spf.google.com. For example, if the existing SPF record looks like:v=spf1 a ~allupdate it to:
v=spf1 a include:_spf.google.com ~all - to create an SPF record, simply create a TXT record with these settings:
- Host/Name/Alias: @
- Time to Live (TTL): 3600 or default
- Content/Value/Answer/Destination: v=spf1 include:_spf.google.com ~all
Set up DKIM for Google Workspace
A DKIM record published in the DNS allows the receiving server to decrypt the signature calculated by the outgoing server to verify that the email hasn't been tampered with in transit.
Follow the steps below to set up DKIM authentication in Google Workspace:
-
navigate to Google Admin Console, and log in:
-
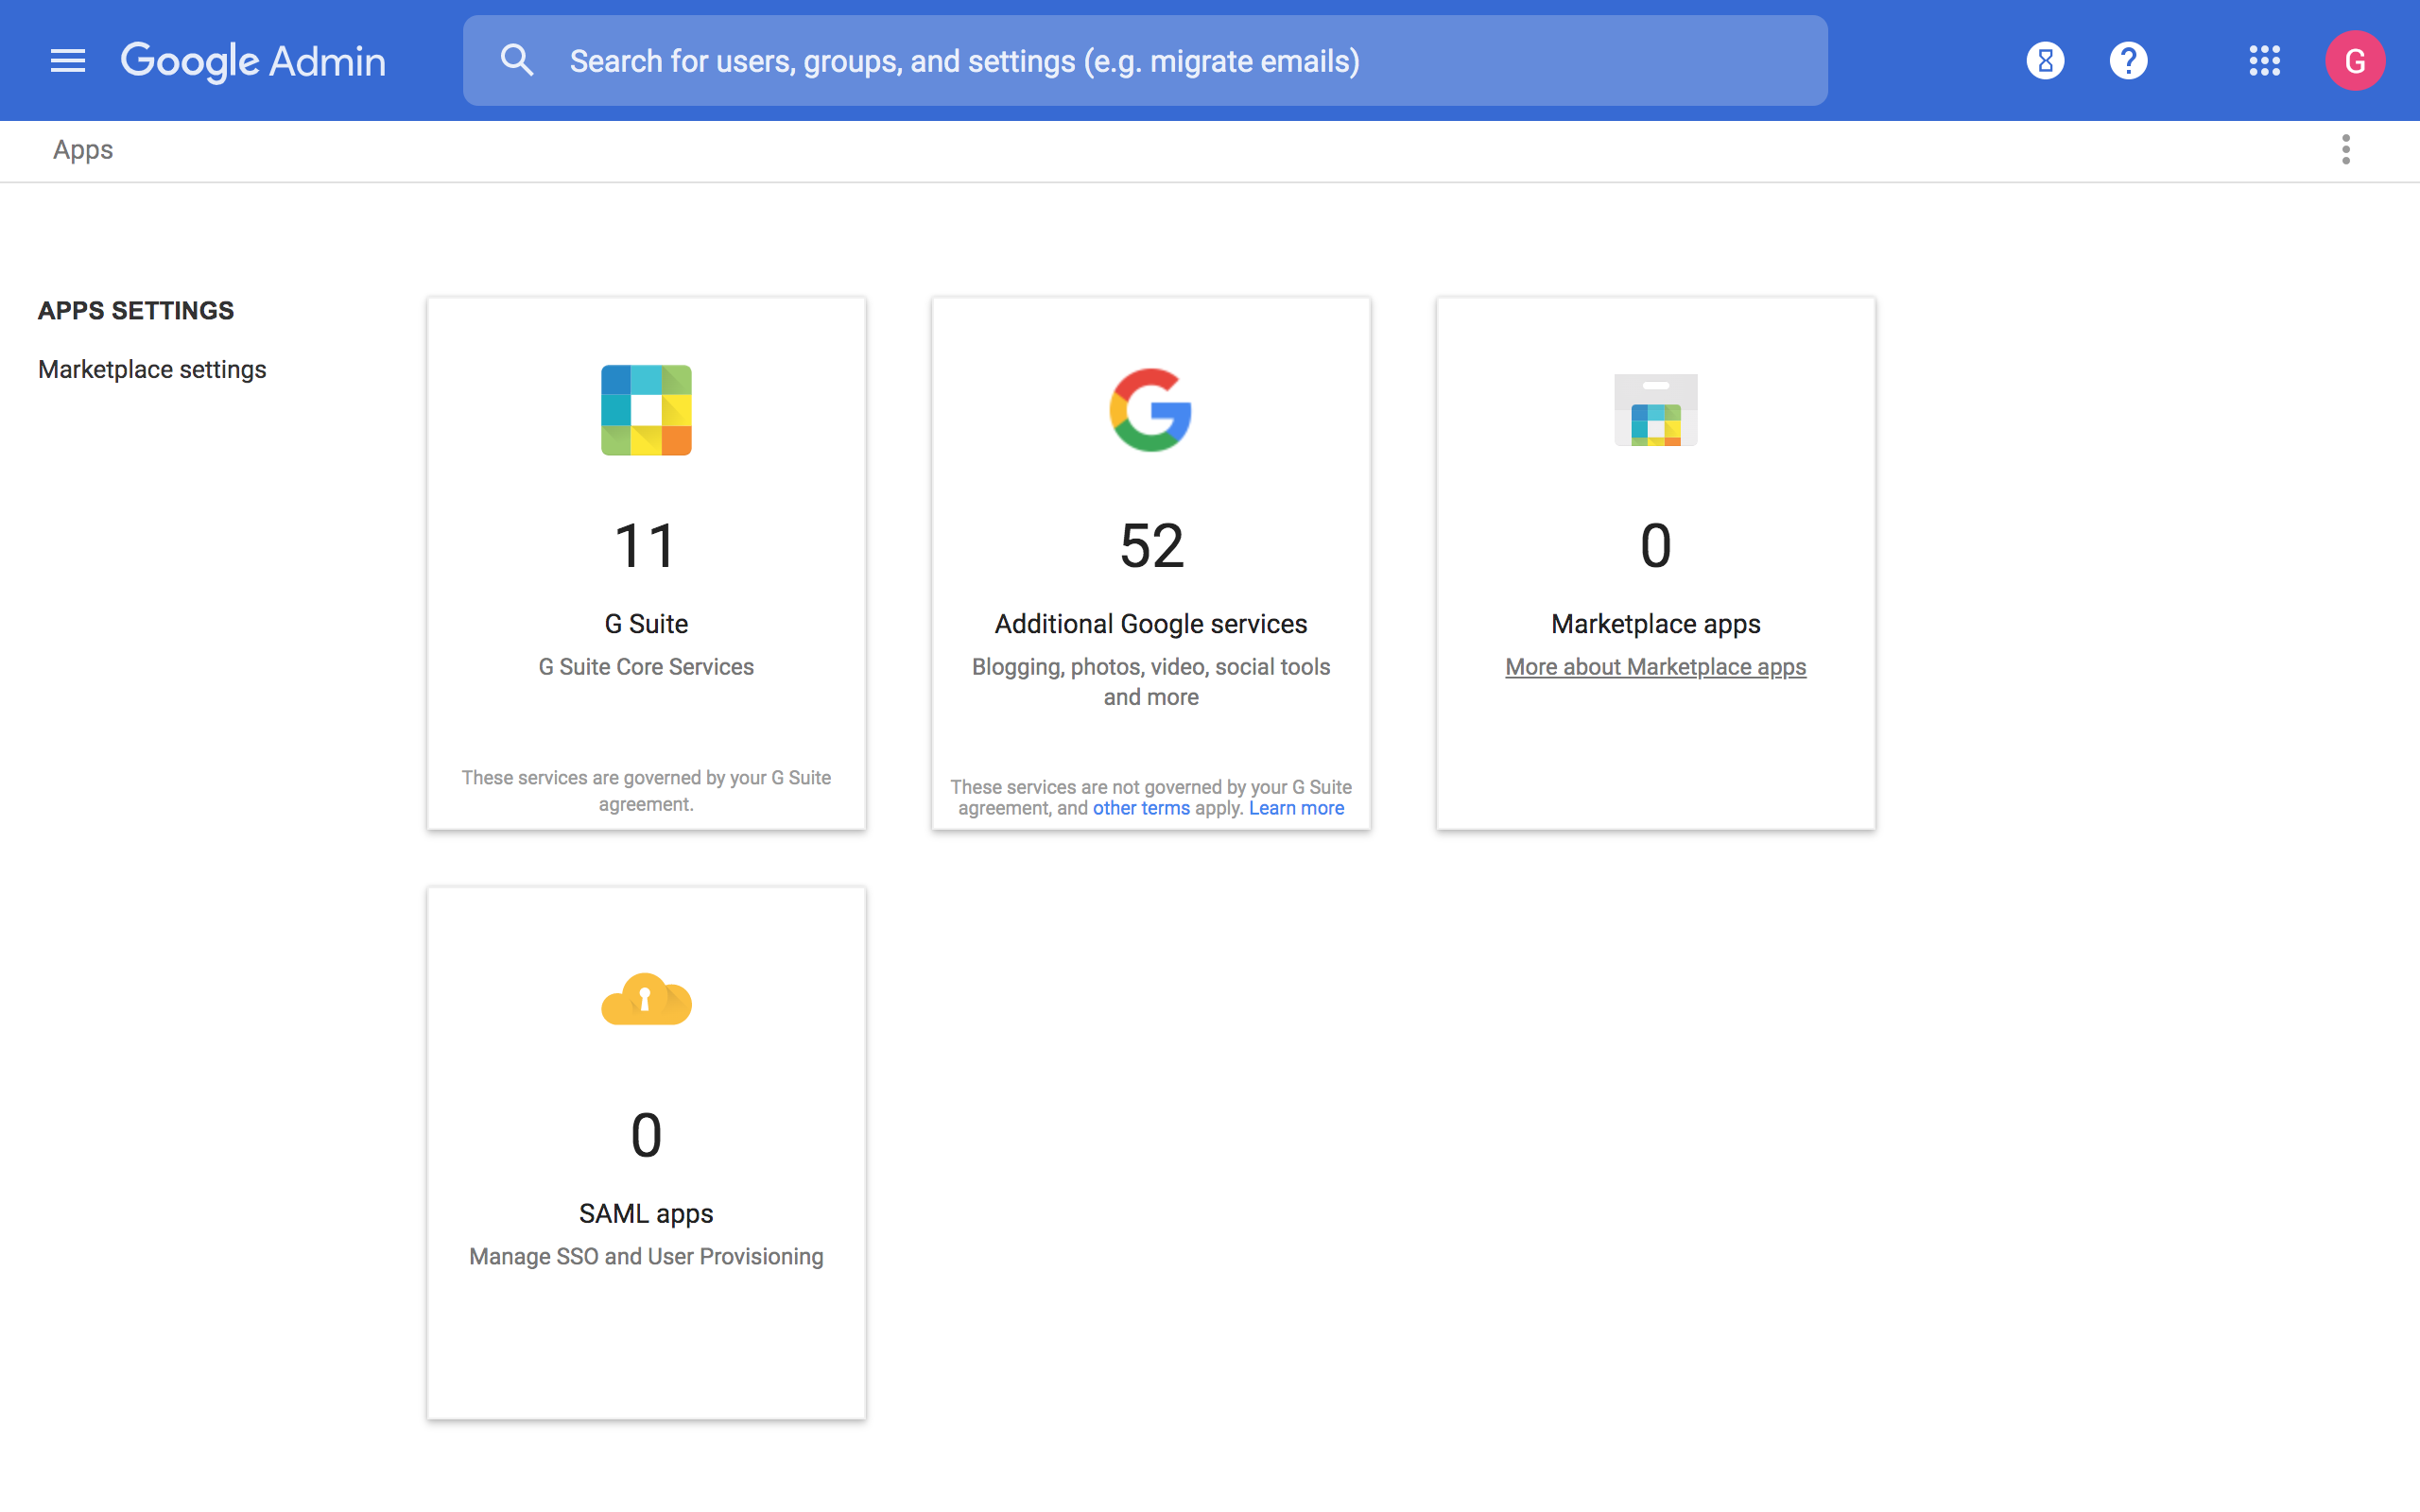
click on Apps to go to App Settings:
-
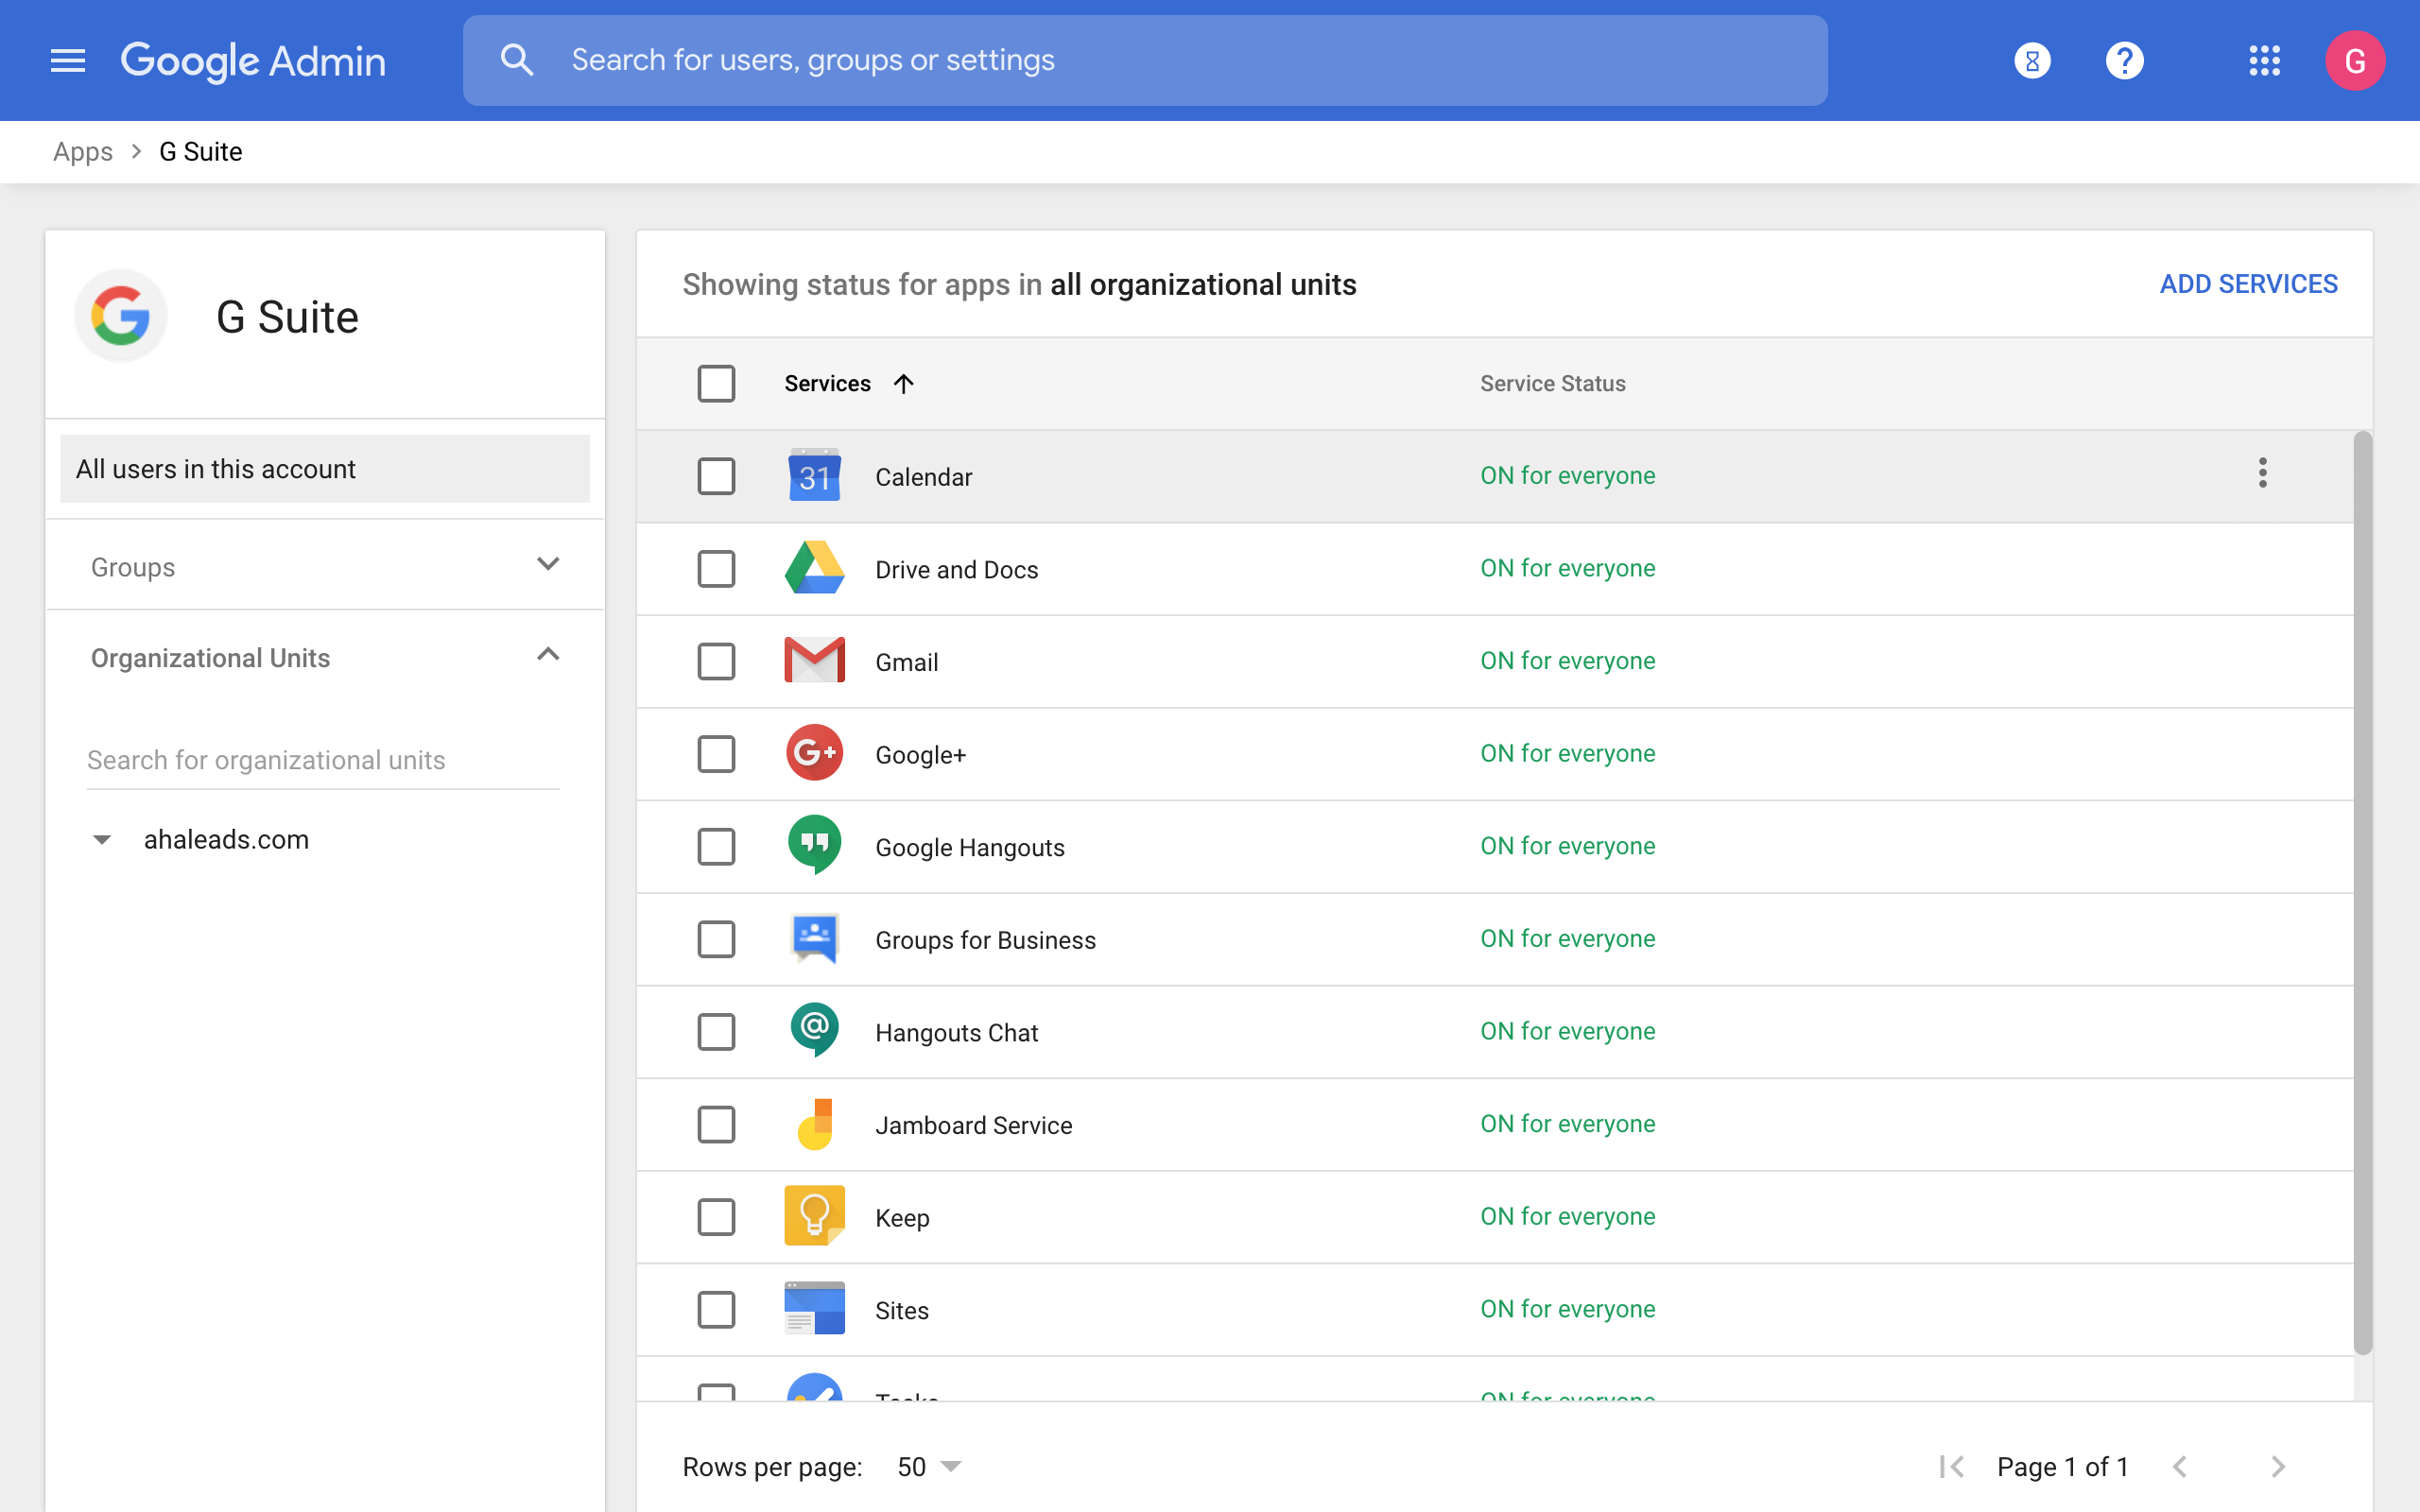
go to Google Workspace Core Services:
-
click on Gmail:
-
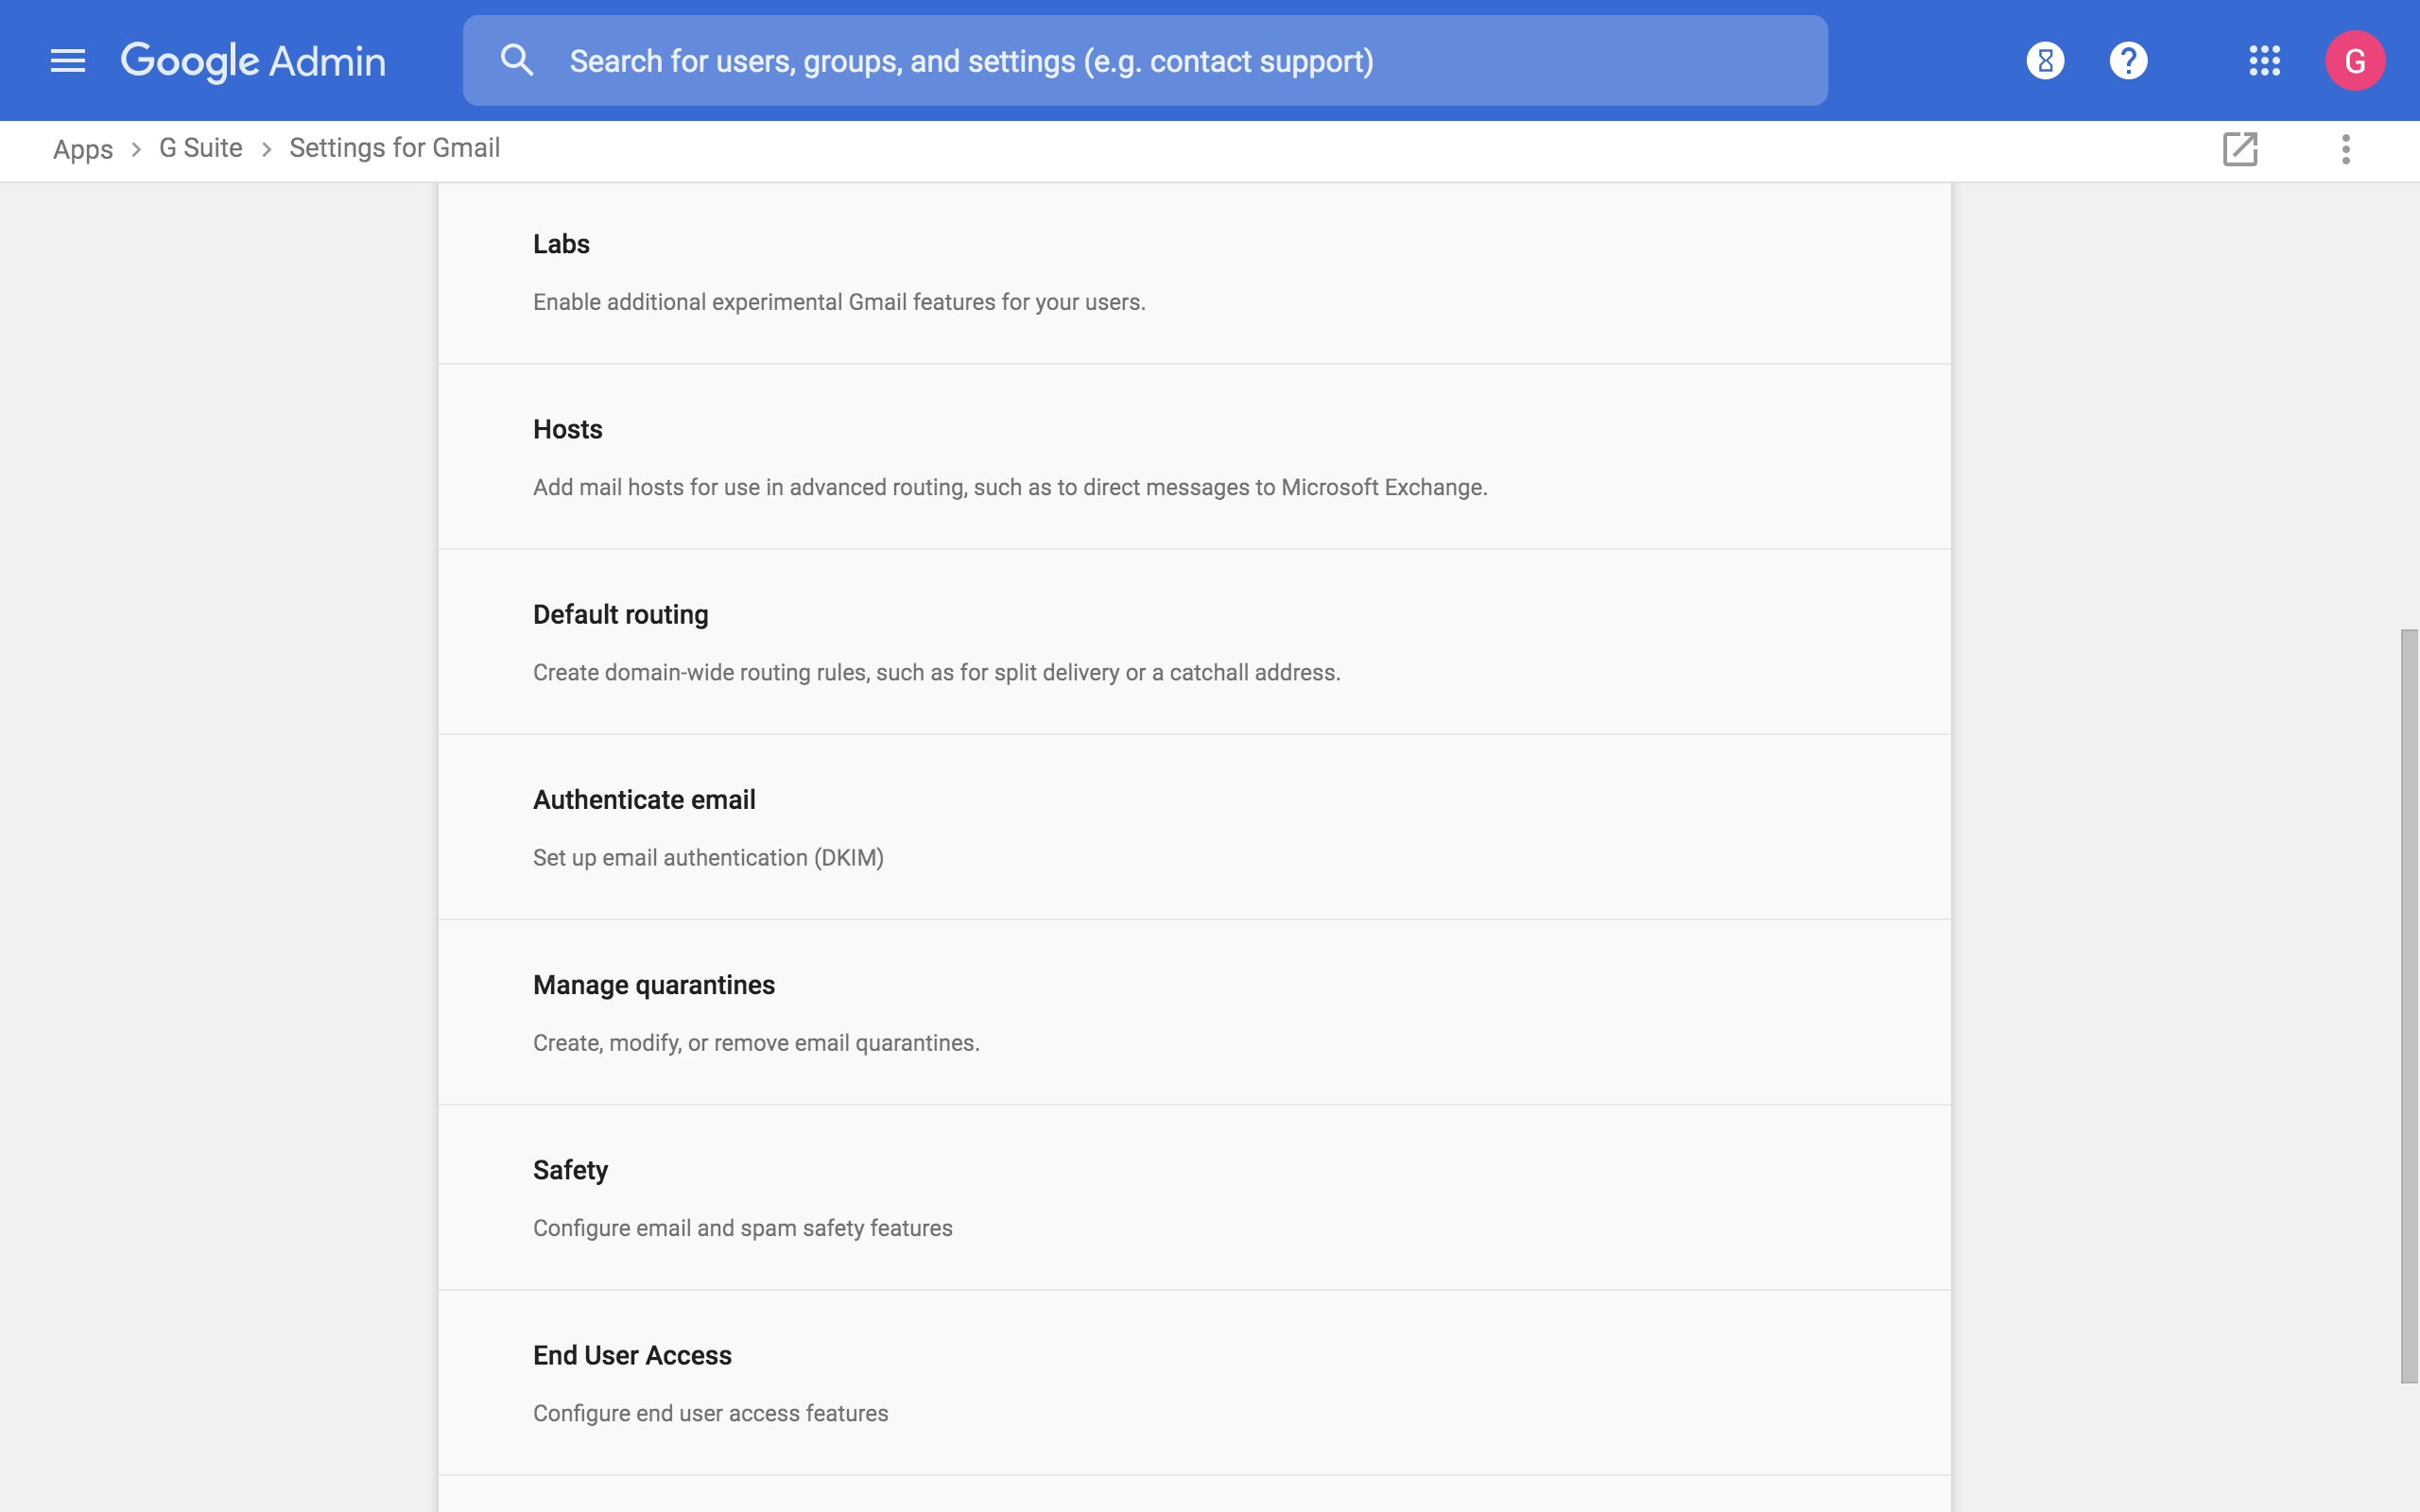
click on Authenticate email:
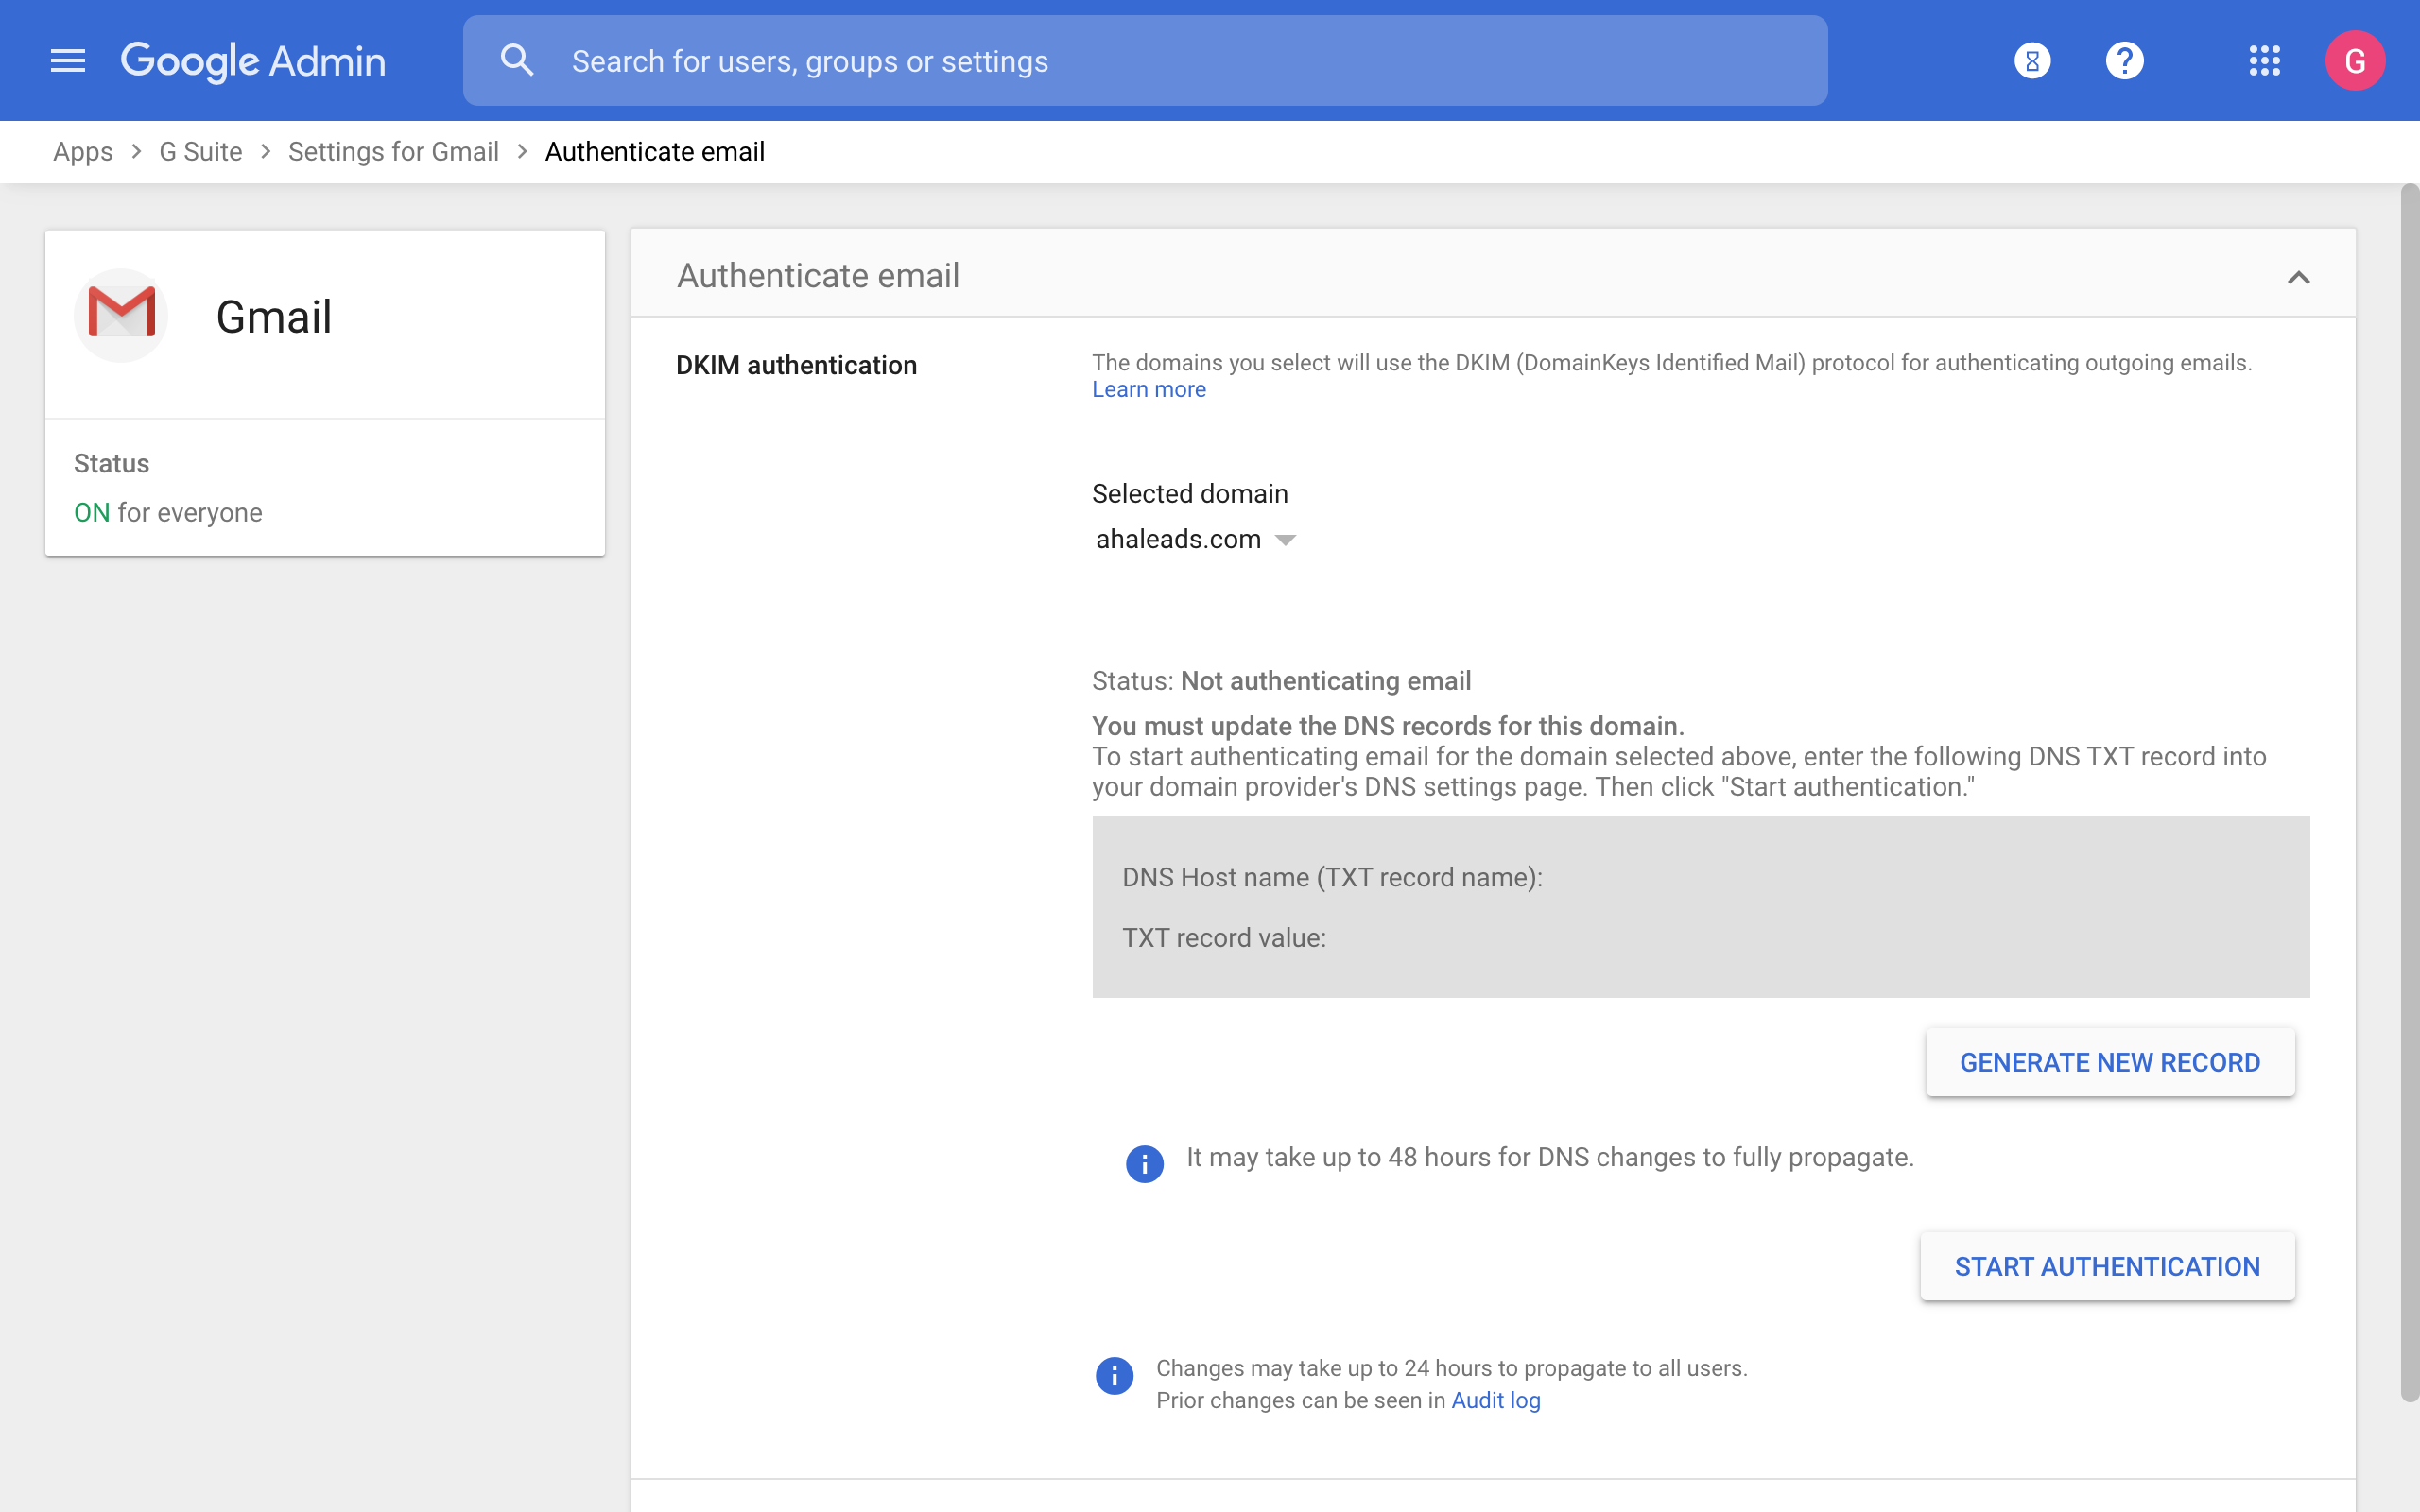
- click on the GENERATE NEW RECORD button to generate a new DKIM record;
- publish the DKIM record in the DNS; DNS propagation might take up to 1 hour before the record becomes accessible;
- once the record is accessible, click on the START AUTHENTICATION button;
- click SAVE to complete the authentication process.
Set up DMARC for Google Workspace
Now it's time to set up DMARC to start monitoring the email authentication status, with the ultimate goal of reaching p=reject so that:
- no illegitimate email spoofing happens on your domain;
- email deliverability is improved: legitimate emails from your domain are more likely to reach the inbox.
Follow the instructions in this post to set up DMARC for Google Workspace: How to Set Up DMARC in 3 Easy Steps.

Protect Business Email & Improve Email Deliverability
Get a 14 day trial. No credit card required.
Create Account